
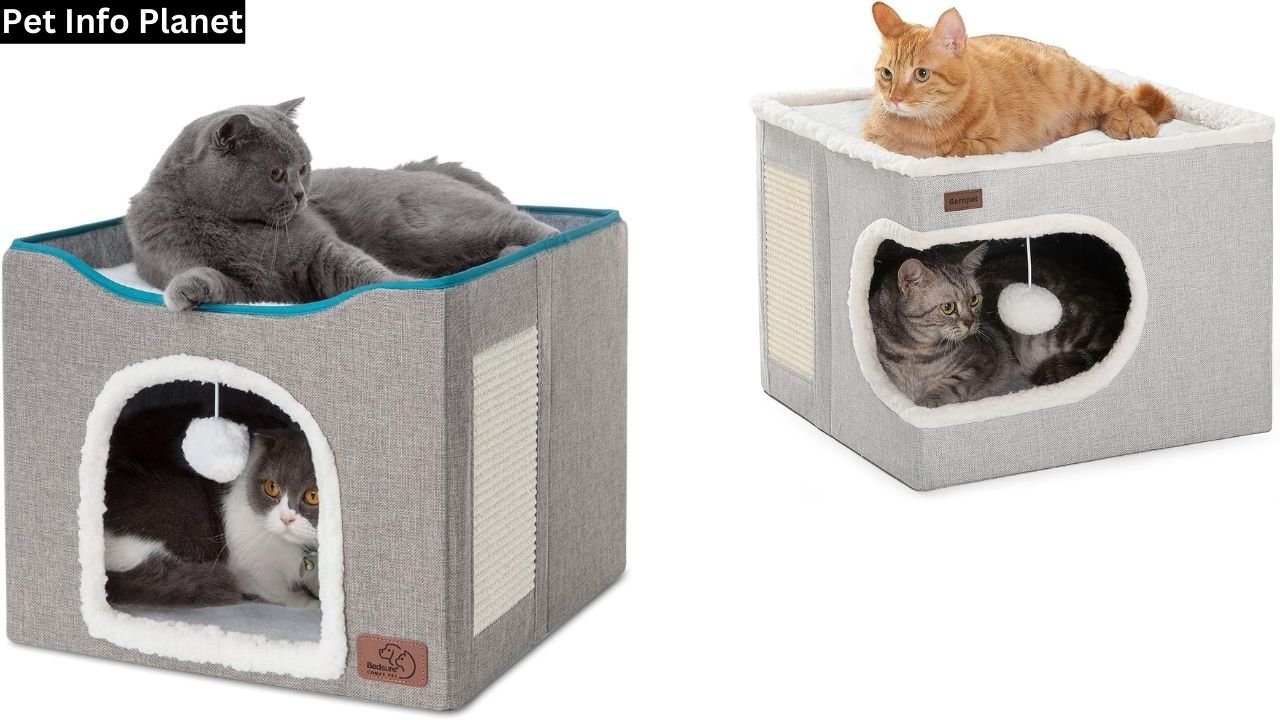
Cat cubes are a fantastic way to give your feline friend a cozy and fun space, and making one yourself is both rewarding and budget-friendly. I recently decided to create a DIY cat cube for my cat, and it was a delightful project. In this guide, I’ll share my steps to build a comfortable and secure cat cube that my cat loves. With just a few basic materials and creativity, you can make a special place where your cat can relax, play, and feel safe. Trust me, the effort is worth it when you see how happy it makes your furry companion. Let’s dive into creating a perfect cat cube together!
Choosing the Right Materials for Your Cat Cube
When I decided to build a cat cube for my feline friend, the first step was selecting suitable materials. I wanted it to be durable and comfortable, ensuring my cat would feel at home. After some research and trial and error, I found the perfect combination of materials.
First, I started with a sturdy cardboard box as the base. Cardboard is excellent because it’s easy to cut and shape, and most cats love the texture. Plus, it’s a cost-effective option that you can find around the house.
Next, I lined the inside of the cat cube with soft fabric. I chose fleece because it’s warm and cozy, making it an inviting place for my cat to snuggle up. I cut the fabric to size and used a hot glue gun to secure it, ensuring no loose edges my cat could chew on.
I cut a round hole for the entrance so my cat could crawl through comfortably. I reinforced the hole’s edges with duct tape to prevent fraying and make it more durable.
I added a cushion at the bottom to make the cube extra cozy. I used an old pillow I no longer needed and covered it with a removable, washable cover. I can easily clean it and keep my cat’s space hygienic.
Lastly, I decorated the cat cubes outside with fun, cat-friendly accessories. I attached a few dangling toys and scratching pads to keep my cat entertained. This added an element of play to the cube, making it more than just a resting spot.
Step-by-Step Guide to Building Your Cat Cube
Building a cat cube was a fun and rewarding project that my cat and I immensely enjoyed. Here’s a step-by-step guide based on my experience:
Step 1: Gather Your Materials
First things first, I gathered all the materials I needed:
- A sturdy cardboard box
- Soft fleece fabric
- Scissors
- A hot glue gun
- An old pillow or cushion
- A removable, washable cover for the cushion
- Duct tape
- Cat-friendly decorations and toys
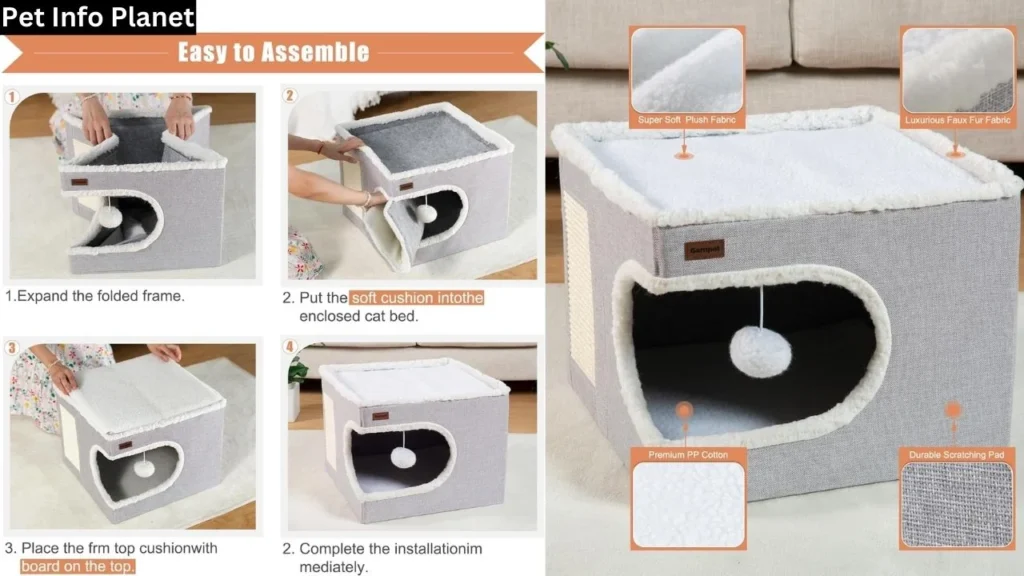
Step 2: Prepare the Box
I started with a sturdy cardboard box as the foundation of the cat cube. The box should be large enough for your cat to fit inside and turn around comfortably. I chose a box that was approximately 18×18 inches.
Step 3: Cut the Entrance
Next, I marked a circle for the entrance on one side of the box. I ensured it was big enough for my cat to crawl through easily. I carefully cut out the circle using scissors. I wrapped duct tape around the cutout to reinforce the edges and prevent fraying.
Step 4: Line the Interior
To make the inside of the cat cube cozy, I lined it with fleece fabric. I cut pieces of fabric to fit each side of the box and used a hot glue gun to secure them. This step is crucial for creating a warm and inviting space for your cat.
Step 5: Add the Cushion
I placed an old pillow at the bottom of the box for added comfort. I covered the pillow with a removable, washable cover, making it easy to clean. This cushion makes the cube a perfect napping spot for my cat.
Step 6: Decorate and Add Toys
To make the cat cube more fun, I attached a few dangling toys inside and added some scratching pads to the exterior. These little touches provide entertainment and encourage my cat to spend more time in the cube.
Step 7: Final Touches
Lastly, I checked all the edges and corners to ensure no sharp points or loose parts could harm my cat. Safety is critical, so take your time with this step.
Adding Comfort: Cushions and Bedding for the Cat Cube
Making a cat cube cozy and inviting is all about adding the right cushions and bedding. When I built my cat cube, I wanted it to be a plush haven where my cat could relax and feel secure. Here’s how I achieved that:
Step 1: Choose the Right Cushion
A good cushion is the foundation of comfort in any cat cube. I started with an old pillow that I no longer needed. It was the perfect size to fit snugly at the bottom of the cube. If you don’t have an old pillow, use foam padding or buy a pet-specific cushion.
Step 2: Cover the Cushion
I covered the cushion with a soft, washable fabric to make the cushion even cozier. I chose fleece because it’s incredibly smooth and warm, making it perfect for cats. I cut the fabric to size, allowing extra wrap around the pillow. Then, I sewed the edges to create a removable cover. Having a removable cover is a game-changer—it makes cleaning easy and keeps the cat cube hygienic.
Step 3: Add Additional Bedding
I added a layer of soft bedding on top of the cushion for extra comfort. I used a small fleece blanket, which my cat already loved. This added another layer of warmth and made the cube even more inviting. Plus, the familiar scent of the blanket helped my cat feel at home.
Step 4: Ensure Everything is Secure
Safety is paramount, so I securely placed all the bedding and cushions. I checked to ensure there were no loose threads or pieces my cat could chew on. Using a hot glue gun, I lightly tacked down the edges of the fabric to keep everything in place without making it too difficult to remove for washing.
Step 5: Add Personal Touches
I added a few personal touches to make the cat cube even more special. I placed one of my old T-shirts inside the cube. The familiar scent provided extra comfort to my cat. Additionally, I put a small, soft toy in there for her to snuggle with.
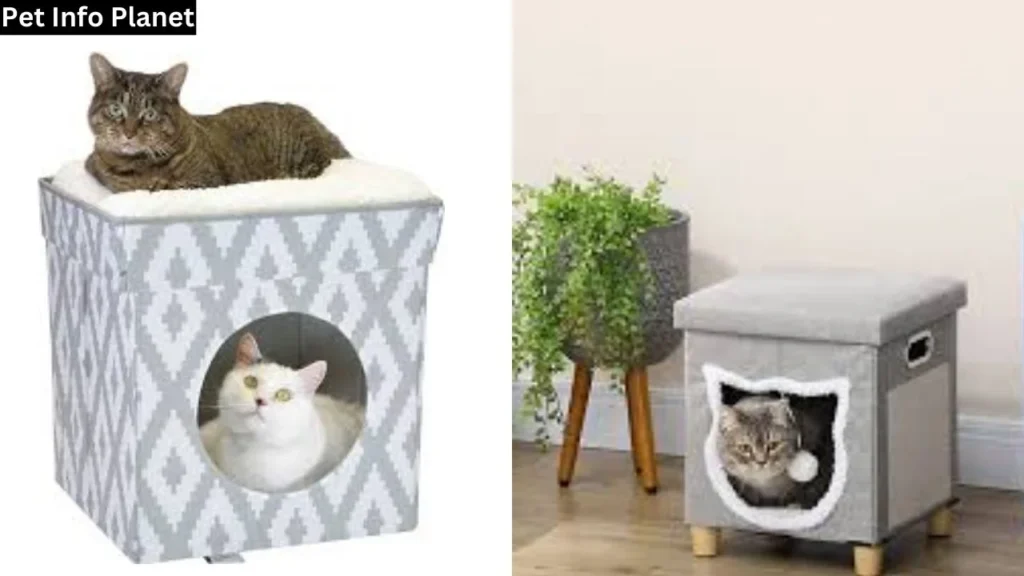
Creative Design Ideas to Make Your Cat Cube Unique
When I decided to make a cat cube for my feline friend, I wanted it to stand out and reflect a bit of my cat’s personality. Here are some creative design ideas I used to make my cat cube unique, which you might find inspiring for your project.
Themed Decorations
One of the first things I did was choose a theme for my cat cube. I chose a medieval castle theme because it matched my cat’s regal attitude. I painted the exterior of the cardboard box to look like castle walls and added small paper flags on top. This theme made the cube a cozy spot and a fun decor piece in my living room.
Personalized Nameplate
I created a nameplate with my cat’s name to give the cube a personal touch. I used a small piece of wood, painted it, and wrote her name in a fancy font. I then glued it above the entrance. This simple addition made the cube feel like it truly belonged to her.
Interactive Elements
To keep my cat entertained, I added some interactive elements. I attached a few dangling toys to the cube’s inside using string and small hooks. I also incorporated a scratching pad on one side of the cube. These features provided comfort and entertainment, making the cube a multipurpose play and rest area.
Multi-Level Design
For an extra challenge, I decided to make the cat cube multi-level. I added a second story by stacking another slightly smaller box on top of the first and cutting an entrance hole between the two levels. I lined both levels with soft fabric and placed cushions in both areas. This design gave my cat more space to explore and made the cube more interesting.
Windows and Peep Holes
I cut small windows and side peepholes to make the cube more interactive. These openings allowed my cat to peek out and made the cube feel less confined. I reinforced the edges with duct tape to prevent tearing and to ensure they were safe for her to poke her head through.
LED Lights
For some flair, I added battery-operated LED fairy lights around the cube’s exterior. These lights gave the cube a magical glow and made it a charming piece of furniture, especially in the evening. The lights were safely secured and kept out of my cat’s reach.
Conclusion
In conclusion, creating a DIY cat cube is a delightful endeavor that provides your feline friend with a cozy haven and a fulfilling crafting experience. By carefully selecting materials and following a step-by-step guide, you can construct a secure and inviting space where your cat can relax, play, and feel at home. Building a cat cube allows for personalization, from choosing the right cushioning to adding creative design elements that reflect your cat’s personality. With attention to detail and safety measures in place, the result is a bespoke sanctuary that brings joy to you and your furry companion. So, why wait? Dive into crafting your cat cube and witness the happiness it brings to your beloved pet.
Read More:
FAQ’s
How to make a cat cozy?
To make a cat cozy, provide soft bedding like fleece or blankets, a warm environment away from drafts, and cozy hiding spots like cat caves or beds. Consider adding toys for entertainment and familiar scents for comfort.
How to make a cozy bed for a cat?
To create a cozy bed for a cat:
- Start with a soft cushion or pillow as the base.
- Cover it with a plush, washable fabric like fleece.
- Ensure it’s placed in a quiet, warm spot, and add familiar scents or toys for comfort.
How to create a safe space for your cat?
To create a safe space for your cat:
- Designate a quiet area away from household traffic.
- Remove potential hazards such as cords or toxic plants.
- Provide hiding spots like covered beds or cat trees.
- Ensure access to fresh water and litter boxes.
How can a room be made comfortable for a cat?
To make a room comfortable for a cat, provide soft surfaces for lounging, elevated perches for observation, hiding spots like boxes or tunnels, interactive toys for mental stimulation, and access to scratching posts or pads. Ensure the room is quiet and has natural light.